
What's in this guide (skip ahead)
I still remember my first compost pile. A sad mound of banana peels and coffee grounds in a corner of the yard. It smelled like a dumpster and attracted fruit flies. I figured compost was just rot in a pile. Took me a full year to realize the problem was too simple: no carbon.
Making compost at home isn't rocket science. But there's a difference between "letting stuff rot" and building a system that gives you rich, dark humus in 4 to 6 weeks. This guide is about the latter. I've set up piles in tiny suburban backyards, a school garden, and even a balcony with a worm bin (that one was a disaster—more on that later). Here's what actually works.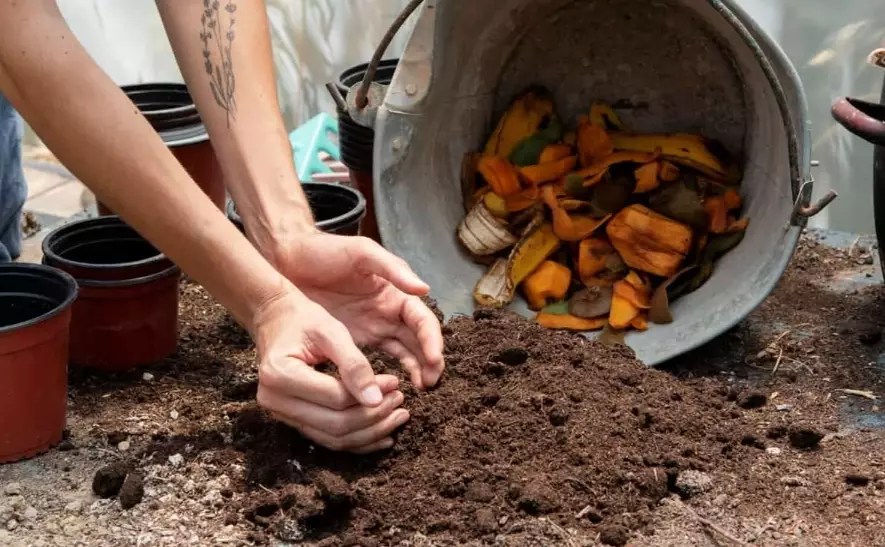
Don't Overcomplicate It: The 3 Things That Matter
Most beginner guides toss a hundred rules at you. Ignore them. Compost is a living system, and it only needs three things to thrive: food (greens and browns in roughly the right ratio), air (turn it), and moisture (damp, not soaked).
The worst mistake? Treating compost like a trash can. I've seen people dump a week's worth of vegetable scraps in one spot and walk away. That's not a pile—that's a swamp waiting to happen.
My rule of thumb: Every time you add a bucket of kitchen scraps (greens), add an equal bucket of shredded leaves, cardboard, or straw (browns). That's it. The pile should look like a layer cake, not a soup.
Pick Your Method: Bin vs. Pile vs. Tumbler
Where you live dictates your approach. No backyard? You've got options. Got space? A simple pile is cheap and effective.
| Method | Best For | Space Needed | Turn Frequency | Time to Finished Compost |
|---|---|---|---|---|
| Open pile | Large yards, lots of yard waste | At least 3x3 feet | Every 2 weeks | 3–6 months |
| Wire bin | Suburban yards, budget-friendly | 3x3 feet footprint | Every 2–3 weeks | 4–8 months |
| Tumbler | Small yards, pest control | 2x2 feet | Every 2–3 days | 2–4 months |
| Worm bin (vermicompost) | Apartments, balconies | 1x2 feet | Never (just feed worms) | 2–3 months |
I tried a tumbler on my balcony two summers ago. It worked fine for food scraps, but the leachate (that dark liquid that drips out) stained my concrete. Learn from my mistake: put a tray underneath.
The Greens and Browns Ratio That Works
Forget the "30:1 carbon to nitrogen" lecture. Here's what you actually need to know: aim for roughly 2 to 3 parts browns by volume to 1 part greens.
Greens are wet, fresh stuff. Think grass clippings, vegetable peels, coffee grounds, eggshells (crush them—whole shells take forever). Browns are dry, dead stuff. Shredded cardboard (remove the tape), dried leaves, straw, newspaper (avoid glossy inserts), sawdust from untreated wood.
Don't do what I did: I once added a whole bag of grass clippings without mixing them in. The next day, the pile smelled like ammonia and a slimy mat formed. The fix? I forked in three buckets of dry leaves and turned it twice over the next week. Lesson learned: never leave greens on top.
You'll know the ratio is off when the pile either stinks (too many greens) or nothing happens for weeks (too many browns).
Step-by-Step: Building Your First Pile
Here's how I set up a new pile every spring. Takes about 45 minutes, start to finish.
1. Clear the spot
Find a level area with good drainage. Don't put it against a fence—airflow matters. I use a spot that gets morning sun but afternoon shade (compost dries out too fast in full sun).
2. Lay down a base
Spread a 4-inch layer of coarse browns—twigs, small branches, or wood chips. This lets air in from the bottom. I once skipped this step. The pile went anaerobic in the middle (smelled like sulfur) because the bottom was compacted. Not fun.
3. Add browns first, then greens
Put down 4 inches of shredded leaves or cardboard. Then 2 inches of kitchen scraps. Then more browns. Keep layering like a lasagna. When you add a layer of greens, bury it in the center of the browns—don't leave it exposed.
4. Water lightly between layers
The pile should be as damp as a wrung-out sponge. Not dripping. If water pools at the base, add more browns.
5. Turn it every 2 weeks
This is where most people get lazy. Turning moves oxygen into the center of the pile and kills anaerobic bacteria. I use a pitchfork and pull the outside edges into the middle. Two-week intervals are plenty.
6. Wait for the magic
Finished compost is crumbly, dark brown, and smells earthy—like a forest after rain. You'll likely find eggshells and avocado pits still whole. That's fine. Only really stubborn items (like citrus peels in cold piles) take longer.
Why Your Pile Isn't Heating Up (and How to Fix It)
You know the pile should get hot (135°F to 160°F at the core) within a few days. If it's not, something's off.
Problem 1: The pile is too small. A 3x3x3-foot pile is the minimum for heat. Smaller piles lose the heat almost as fast as it's generated. My tiny balcony tumbler never got hot—it just slowly rotted. That's okay for vermicomposting, but it's slow.
Problem 2: Too many browns. If you have mostly leaves and cardboard, the pile will sit there for a year. Add a bucket of fresh grass clippings or kitchen scraps and turn it.
Problem 3: It's too wet. Squeeze a handful of compost. If more than a couple of drops come out, it's too wet. Turn it and add shredded newspaper or dry leaves.
Problem 4: It's too dry. Water the pile lightly while turning. Bone-dry piles just sit there.
Real Questions from Fellow Composters
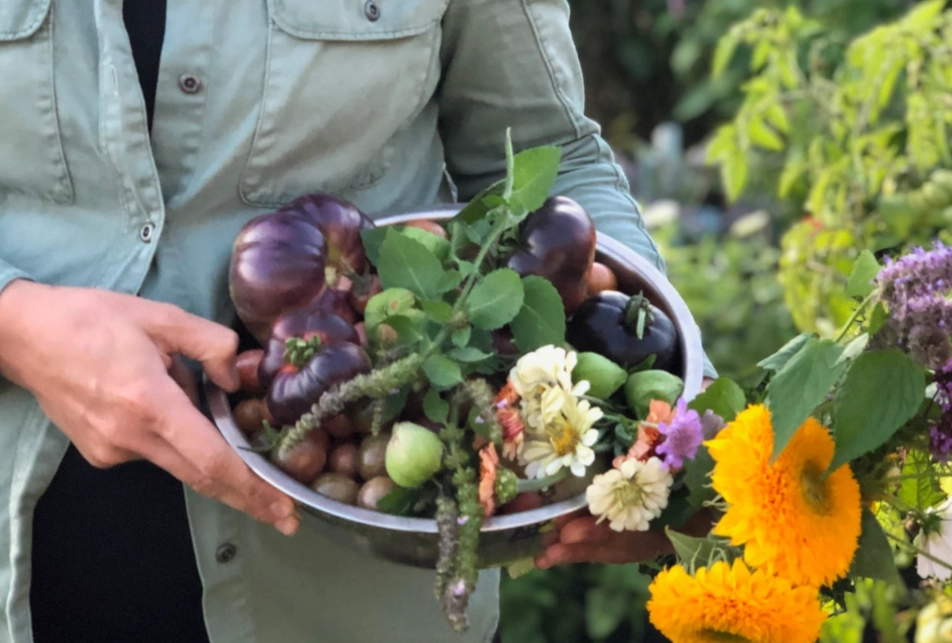
You've probably seen those glossy photos of perfect compost bins. Reality is messier. Your first pile might be slow. Mine was. But the sensory feedback—growing tomatoes from seed in compost you made from your own trash—that's the part that sticks. I still get a kick out of it every harvest. Give it a go. Your garden will thank you.
This guide was fact-checked against the USDA's back-porch composting guidelines and the EPA's home composting recommendations. No fluff, just the lessons I've learned (and the mistakes I've made) over a decade of backyard composting.
Leave a Comment